How to Add 2FA to KeepassXC Passwords in Tails OS (the Phoneless Way)

Have pesky QR Codes for 2FA on a service you want to secure while running Tails OS? You’ve come to the right place.
Definitions
Who is this tutorial for:
Privacy minded folks
Technology enthusiasts
Those needing convenience at the cost of some security
Tails OS (courtesy of its website) - “portable operating system that protects against
surveillance and censorship”2FA (Two Factor Authentication) - a second form of security for an account to help defend against malicious actors
QR Code - square bar code usually scanned with a smartphone
Security considerations
Persistent storage saves data to a hard disk; if what you save can be used to harm you or others if your government obtained your hard drive, this tutorial may not be for you
Unlocking both KeepassXC & Persistent Storage will require manually typing in passwords / phrases every time, so any keyloggers or other similar malware on your host system will register these
Virtualbox & Windows Hosts are not officially supported by the Tor Project, the maintainers of Tails; both are considered to be antithetical to remaining anonymous due to being either closed source or being ran by a corporation
Prerequisites
Follow this tutorial (courtesy Stack Exchange) on getting Tails OS Persistent Storage setup properly in VirtualBox (doesn’t work in VMWare)
Any password manager on the host system with solid encryption (Personal Recommendations: Bitwarden or Password-Store - both can be self-hosted & have solid apps for most platforms)
KeepassXC configured using the official tutorial; this tutorial will primarily extend the Using KeePassXC as an authenticator app for two-factor authentication section at the bottom
Steps
Boot up your Tails OS VM
Unlock your Persistent Storage (should see “Your Persistent Storage is unlocked.” message)
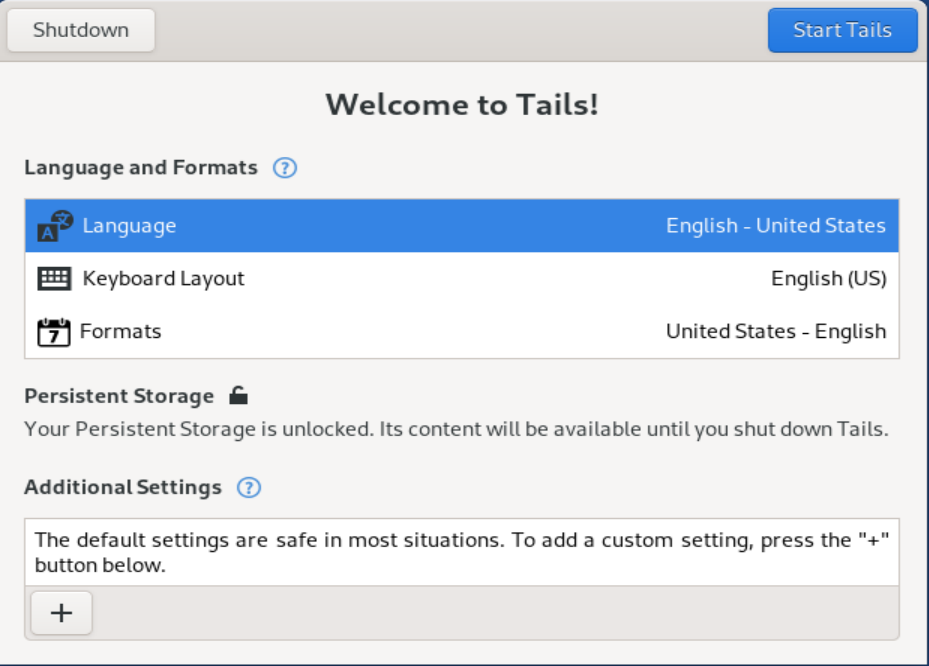
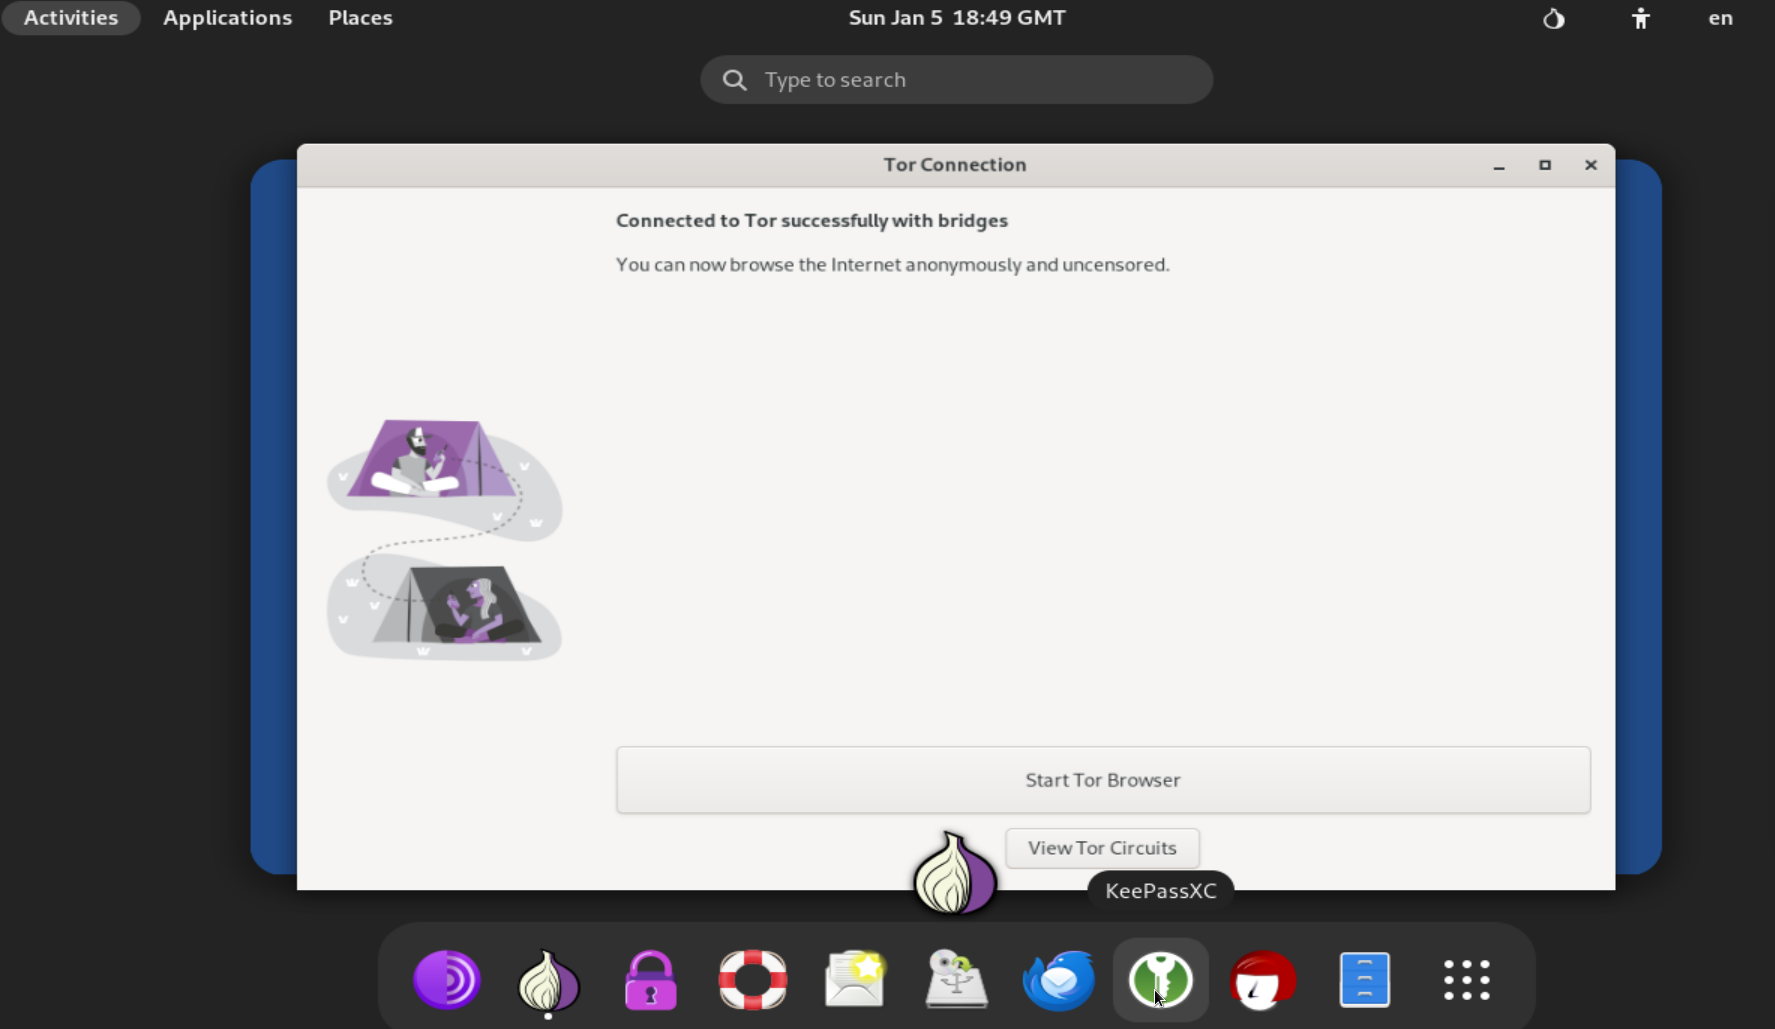
Configure Tor Connection based on your particular needs
Click Activities & the green key symbol at the bottom
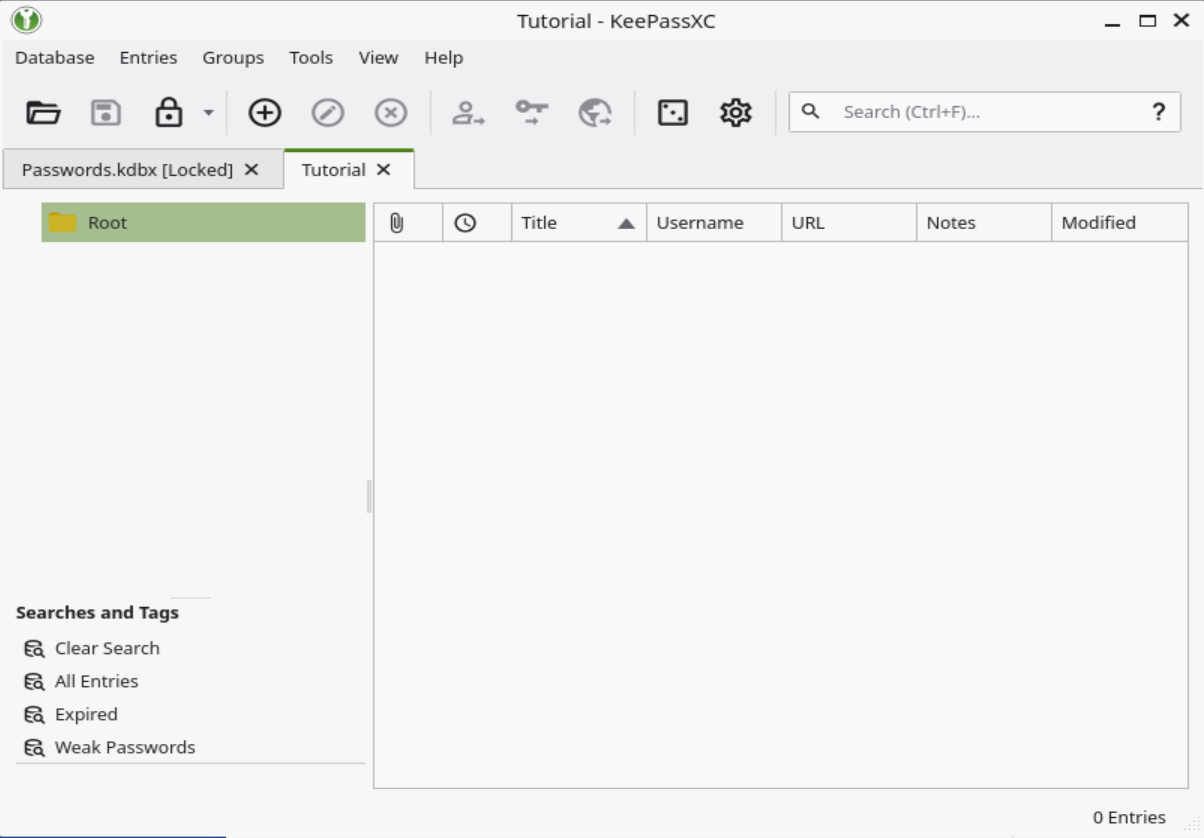
Unlock Database with password
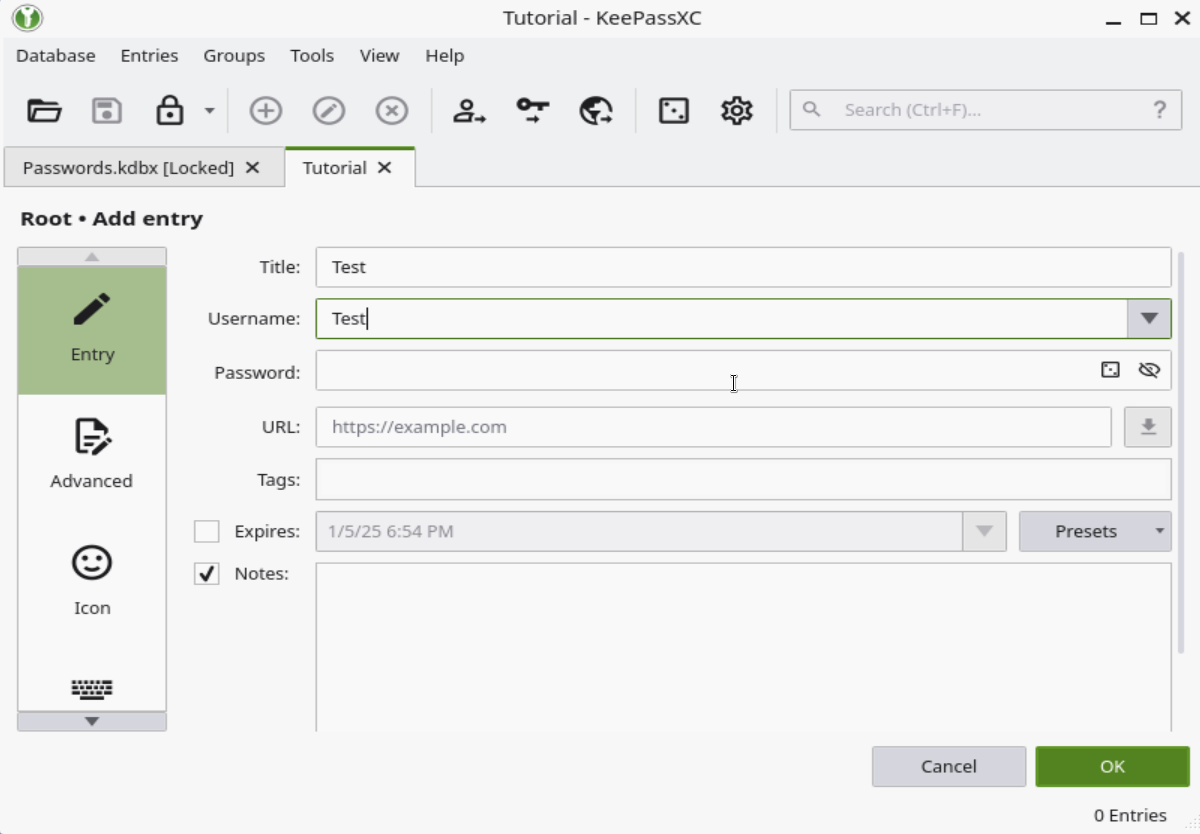
Create a New Entry / Edit a Current One
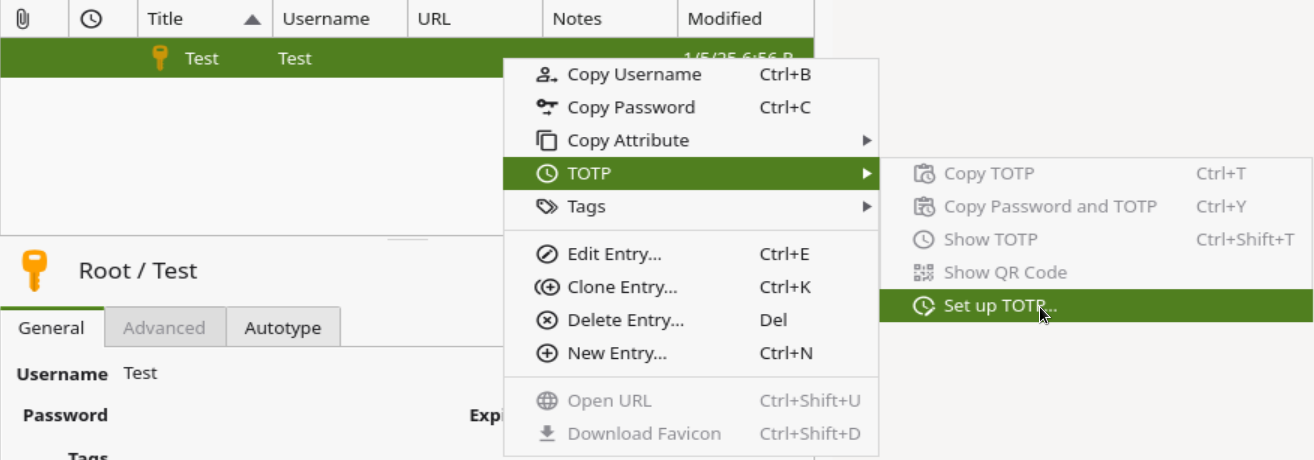
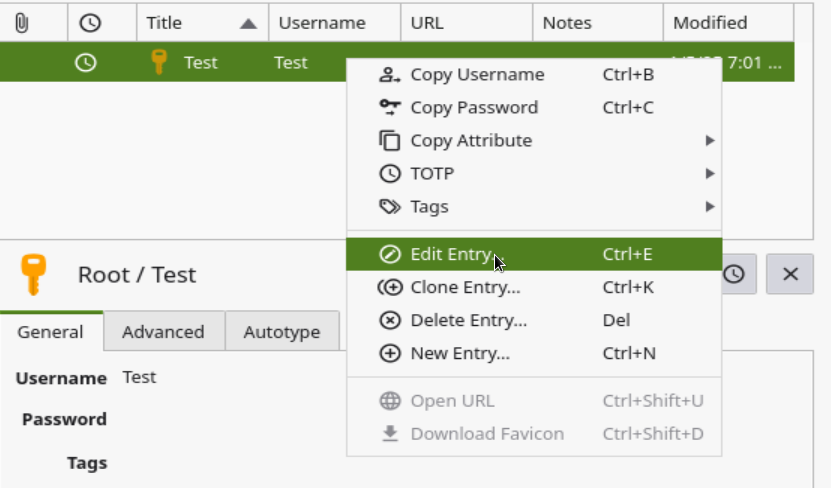
Right Click entry & make this selection
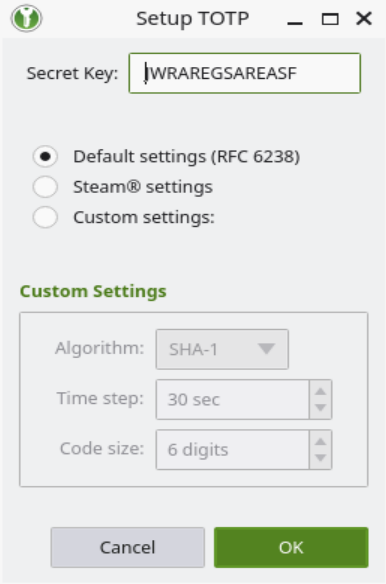
Type JWRAREGSAREASF as the value of the Secret Key; this is temporary. Leave as default settings otherwise & click OK
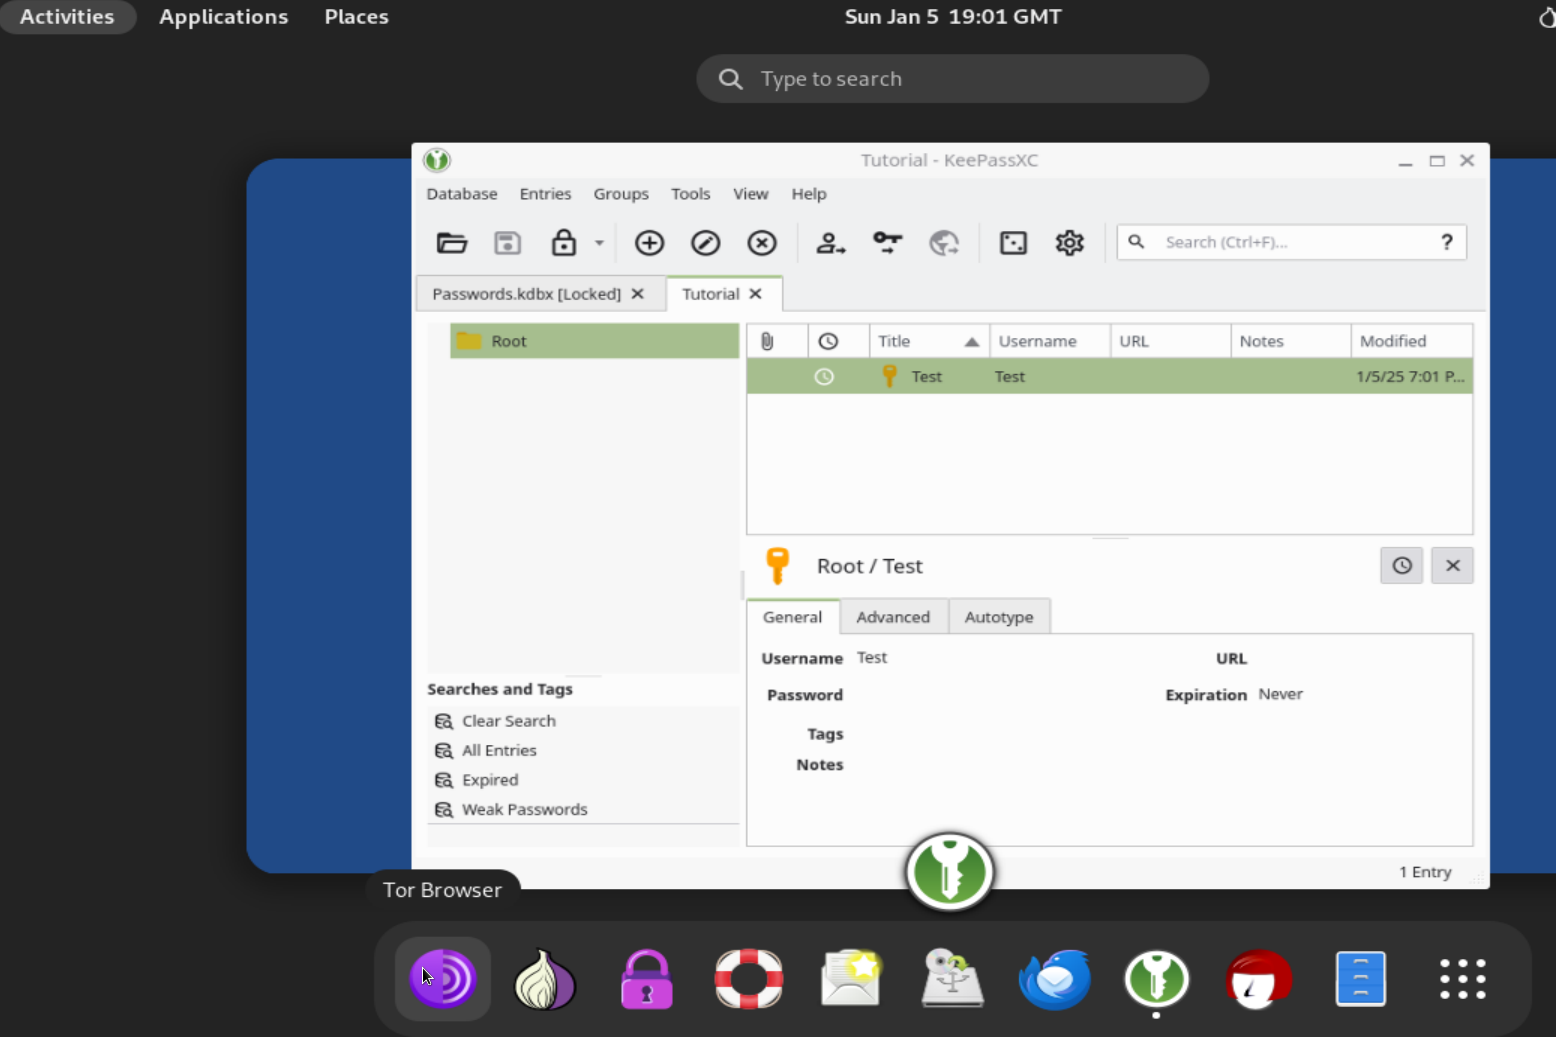
Open Tor Browser from Activities menu
On the home page, look for a QR Code

Right click & select Take Screenshot from menu

Place cursor over QR Code & single click it

Click Download & give it some memorable name (will need the location for the next steps)

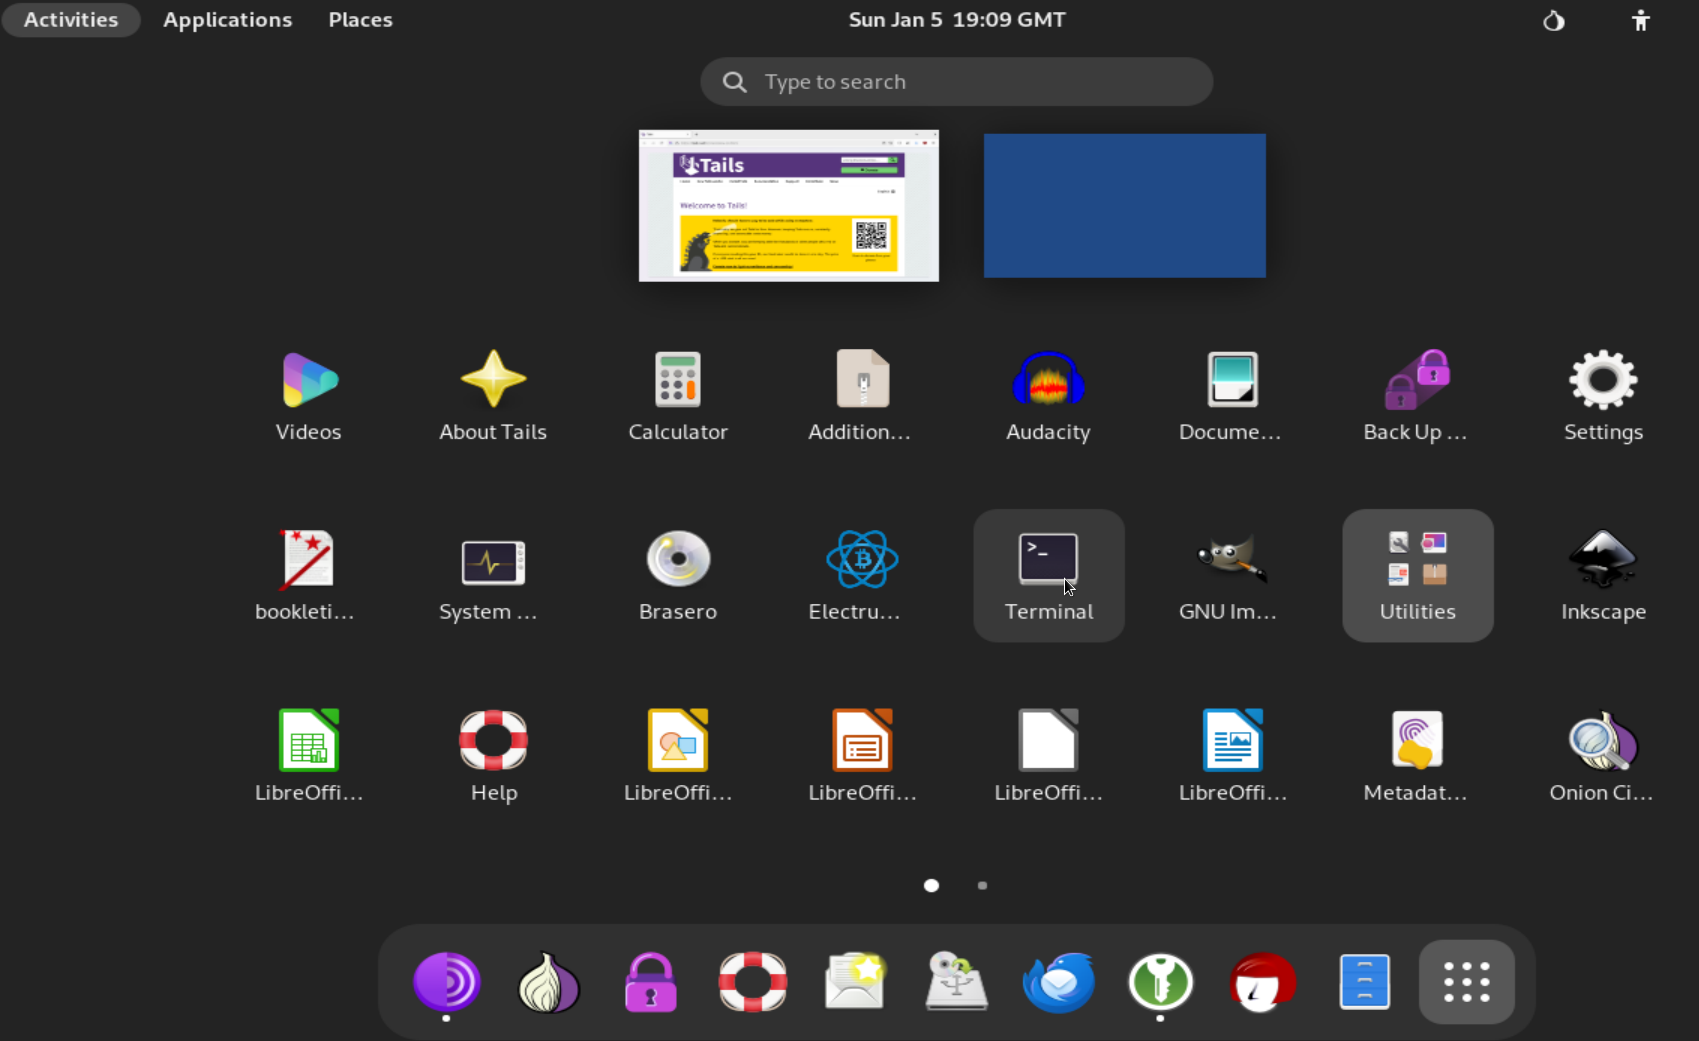
Open a terminal by clicking Activities->Show Applications (highlighted icon on bottom right)->Terminal
Type
cd <where you saved QR Code>
Type
zbarimg <name of QR Code image file>
Copy the entire string next to
QR-Code:; it should start withotpauth://totpGo back to KeepassXC & unlock it if you need to
Right click entry from before & click Edit Entry
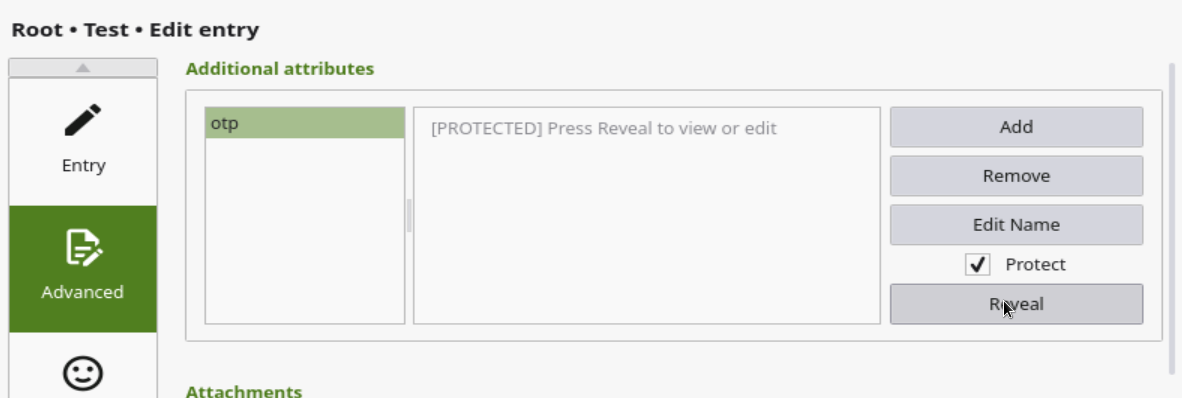
Click Advanced & Reveal
Replace the highlighted string with the copied
QR-Code:one from Step 17. Click OK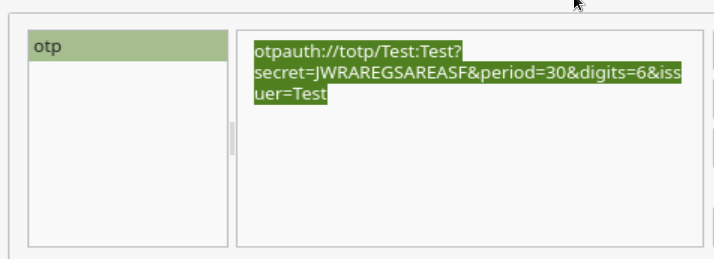
To use your 2FA, right click entry & click TOTP->Copy TOTP

Because we aren’t using a real 2FA QR Code, this won’t work at all, but these steps will be the same for most other sites you visit while using Tails OS
Closing remarks
I hope this tutorial was useful. Feel free to share it on any of your socials. If you have questions, comments or concerns, you can reach me at any of the platforms shown on the bottom left of this post (will be adding more as I go).

You can also help show support by buying me a coffee here or scanning this QR Code.

Thanks for reading. Have a wonderful rest of your day & keep safe out there.